
Welcome to our comprehensive tutorial on using SnipTaker, the powerful and intuitive screenshot tool designed to enhance your digital workflow. Whether you're a professional needing precise screen captures for presentations, a student organizing notes, or simply someone who enjoys sharing moments from your screen, SnipTaker offers a versatile and user-friendly solution.
In this guide, we will walk you through the key features of SnipTaker, from installation to advanced functionalities, ensuring you can make the most out of this tool. Let's dive in and discover how SnipTaker can streamline your screenshot-taking process!
Part 1: How to Take Screenshot Using SnipTaker
Taking screenshots with SnipTaker is a straightforward process, thanks to its intuitive interface and user-friendly features. Follow these steps to capture your screen effectively.
1. Download and Install SnipTaker
Click the below button and follow the instructions to install SnipTaker on your computer. Once installed, launch SnipTaker from desktop shortcut.

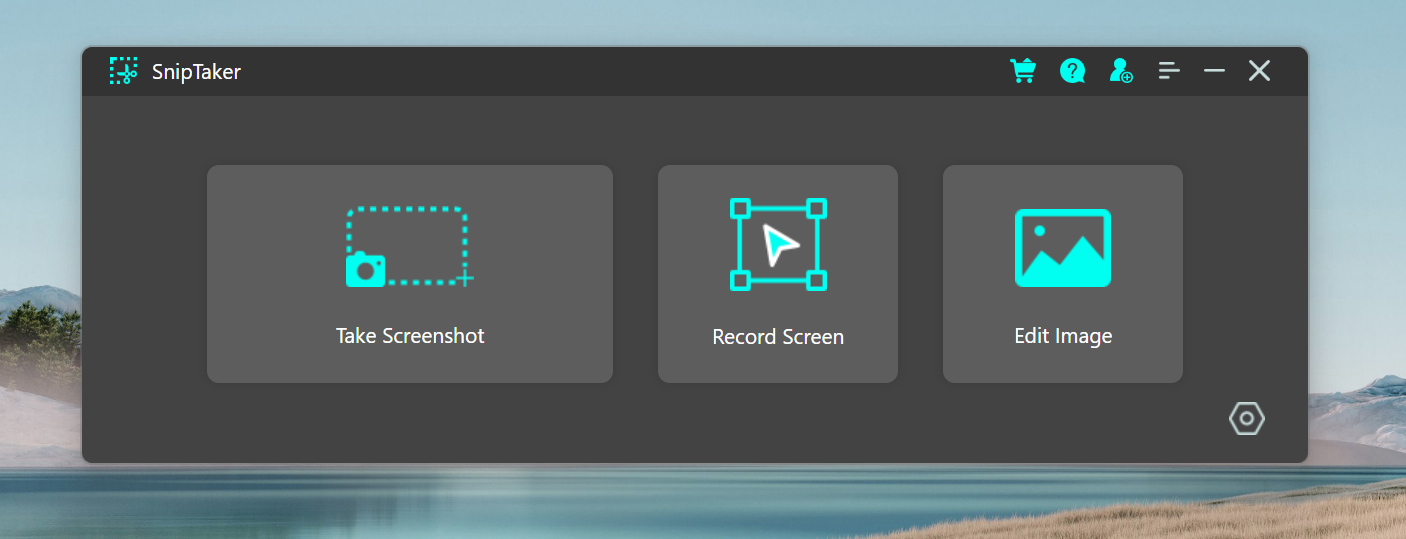
2. Open SnipTaker
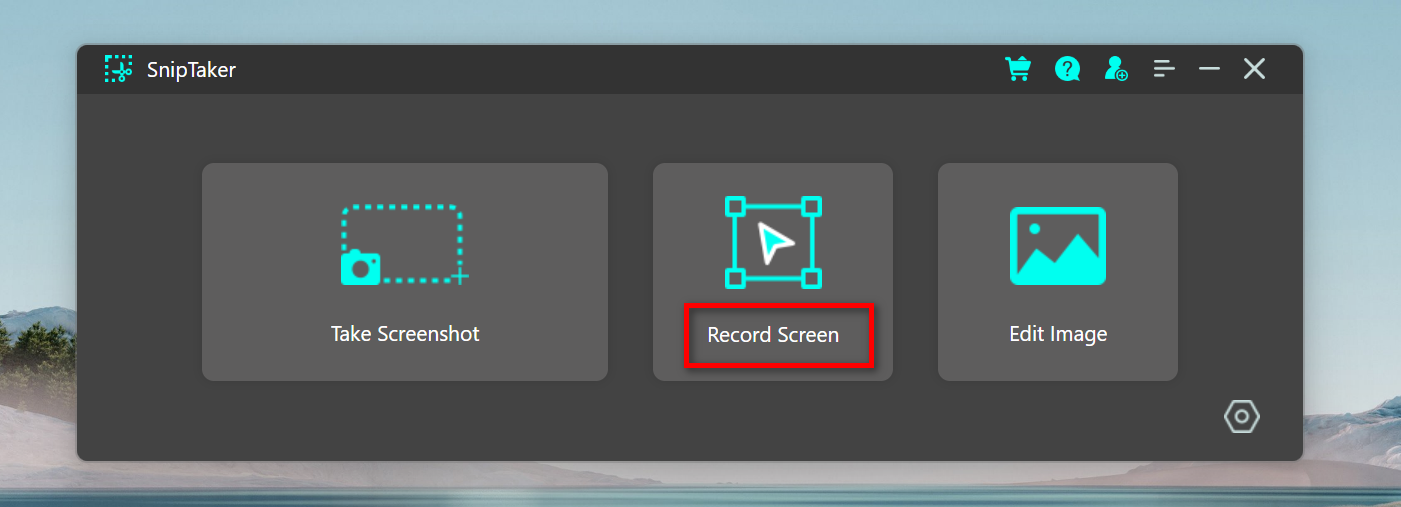
You will see three options when SnipTaker is opened. They are: Screen Capture, Screen Recording and Edit Image. Please click the first menu at the left to take screenshot.
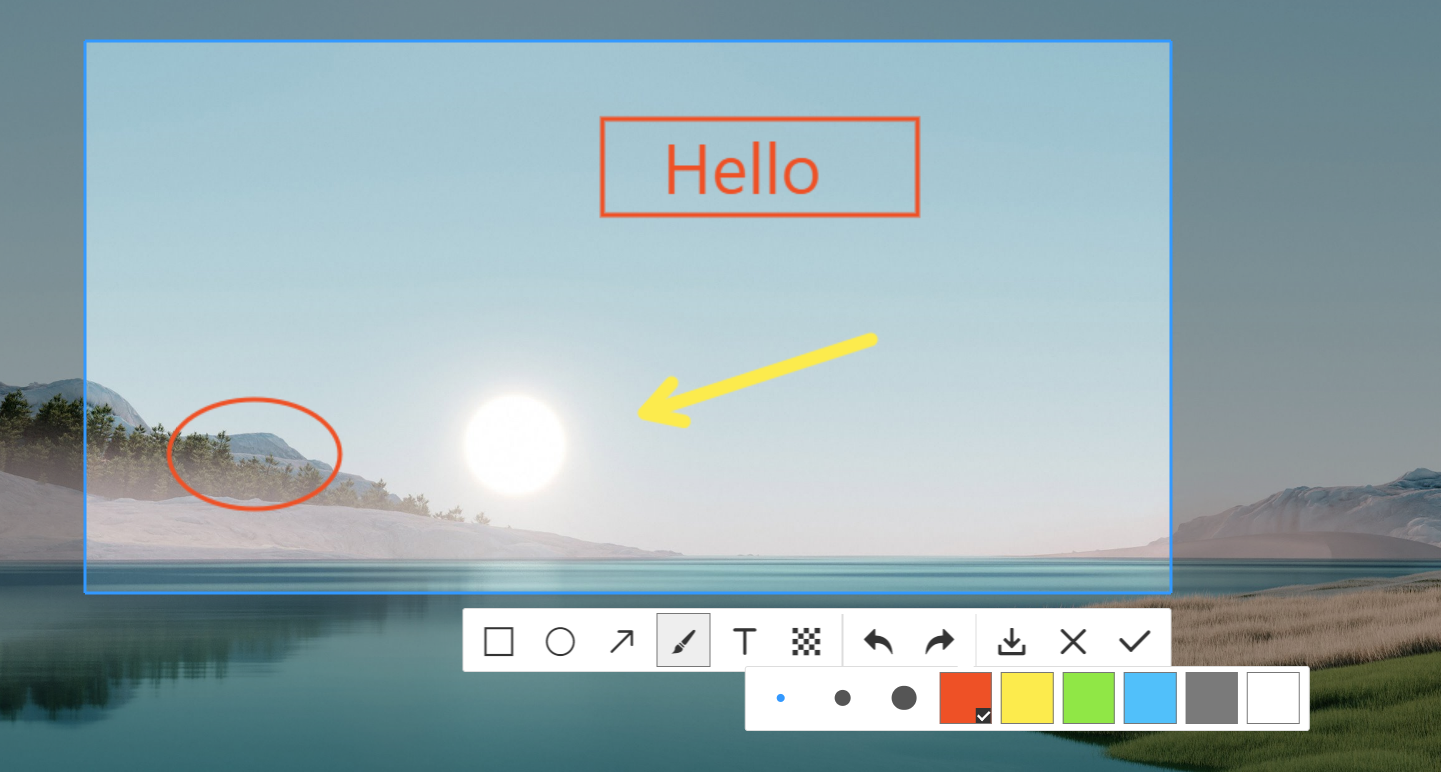
3. Select the Area for Screenshot
Drag your cursor to select the area you want to capture.
Wait a few seconds for SnipTaker to process the link and display the download options.
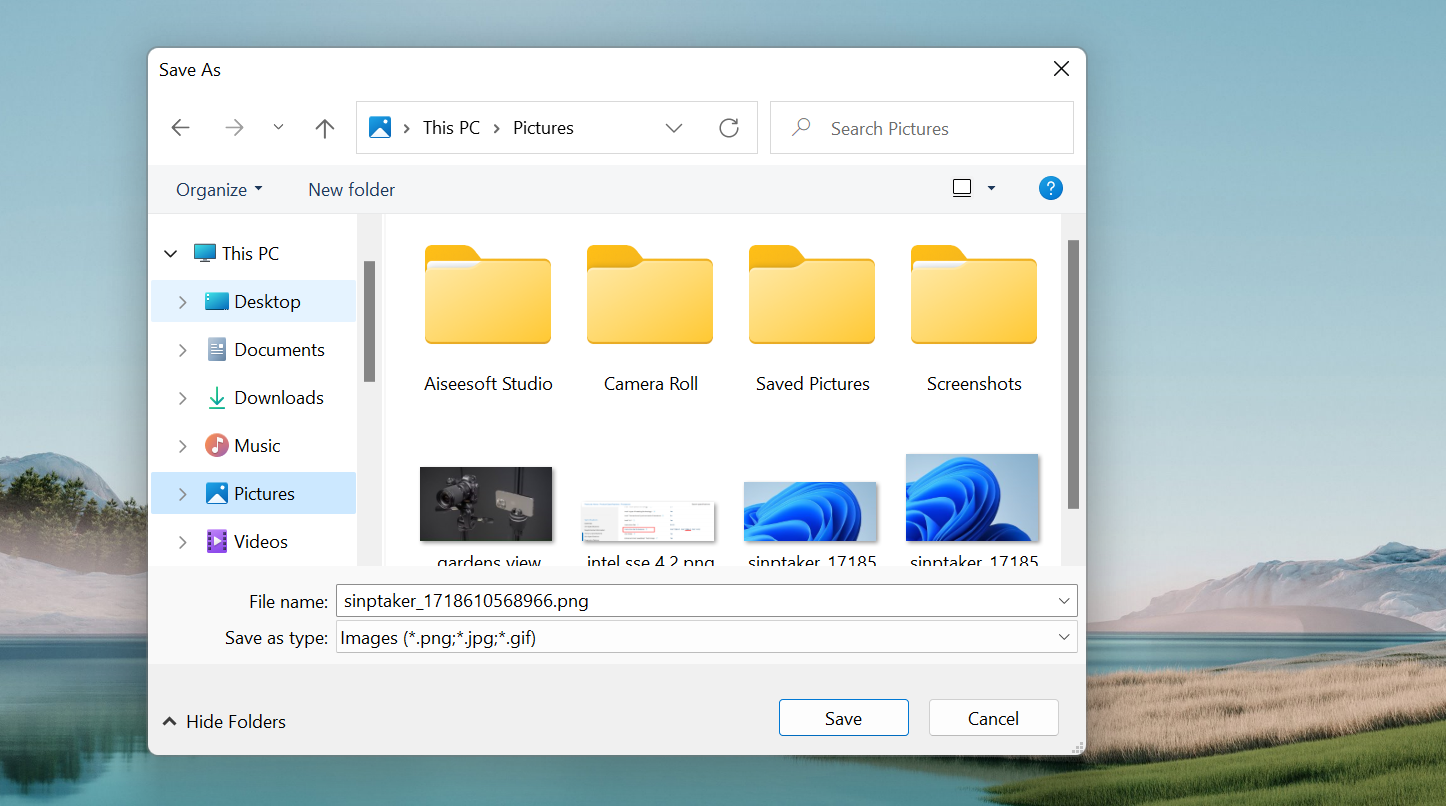
4. Save Screenshot to Computer as PNG/JPG/GIF
Once you've selected your desired capture mode and area, SnipTaker will take the screenshot and ask you to select a local folder to save the screenshot as JPG, PNG or GIF image format.
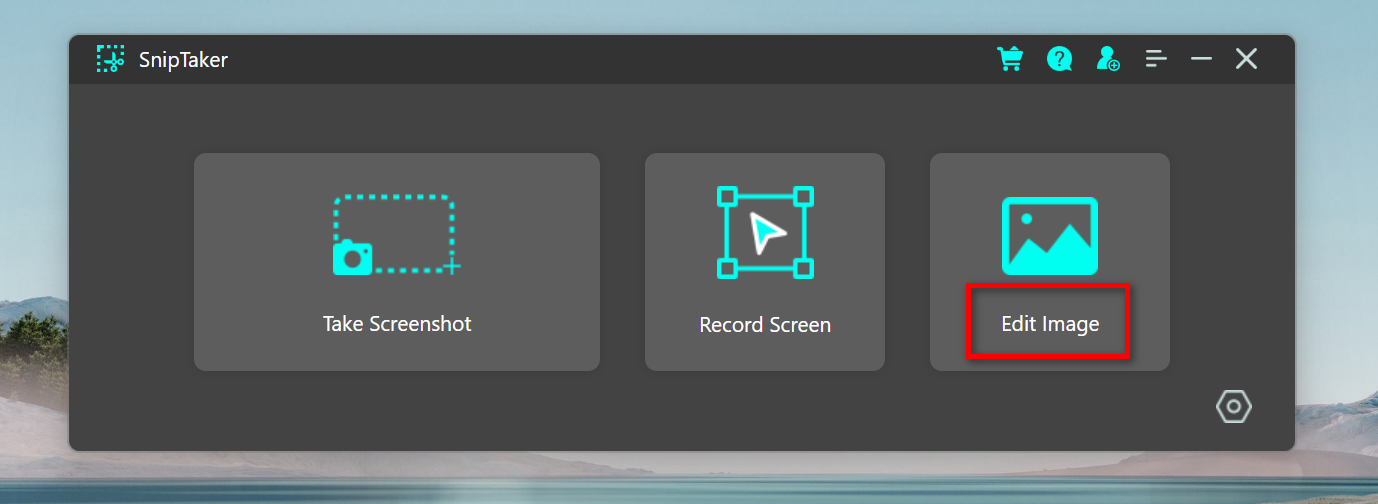
When the image is saved, you can now start editing the images with the built-in tool.
Part 2: How to Edit Image with SnipTaker
In addition to its powerful screenshot capabilities, SnipTaker offers a robust set of image editing tools that allow you to enhance and customize your captures directly within the application. This feature is designed to save you time and effort by providing essential editing functions such as cropping, annotations, highlighting, and more, all in one place. Let's explore how you can use these features to edit your screenshots efficiently.
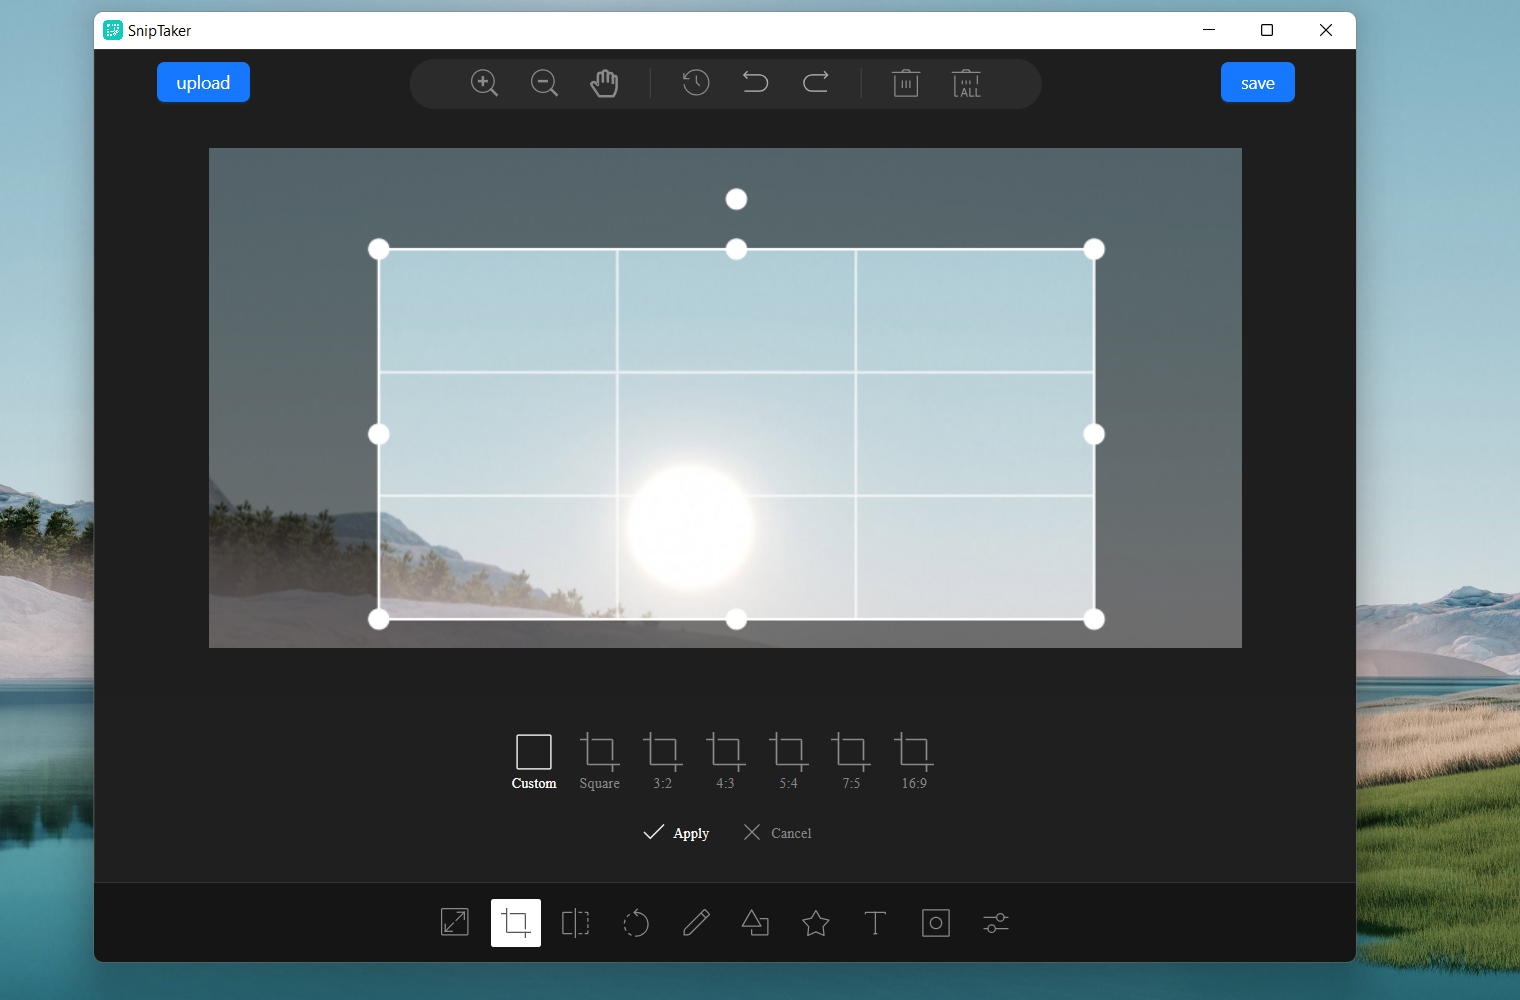
You will be presented with a couple of images editing menus, including image resize, crop, add text/shapes, bulr and filter.
Crop: Click the "Crop" tool to trim unwanted edges from your image. Drag the corners of the cropping box to adjust the area you want to keep, then click "Apply."
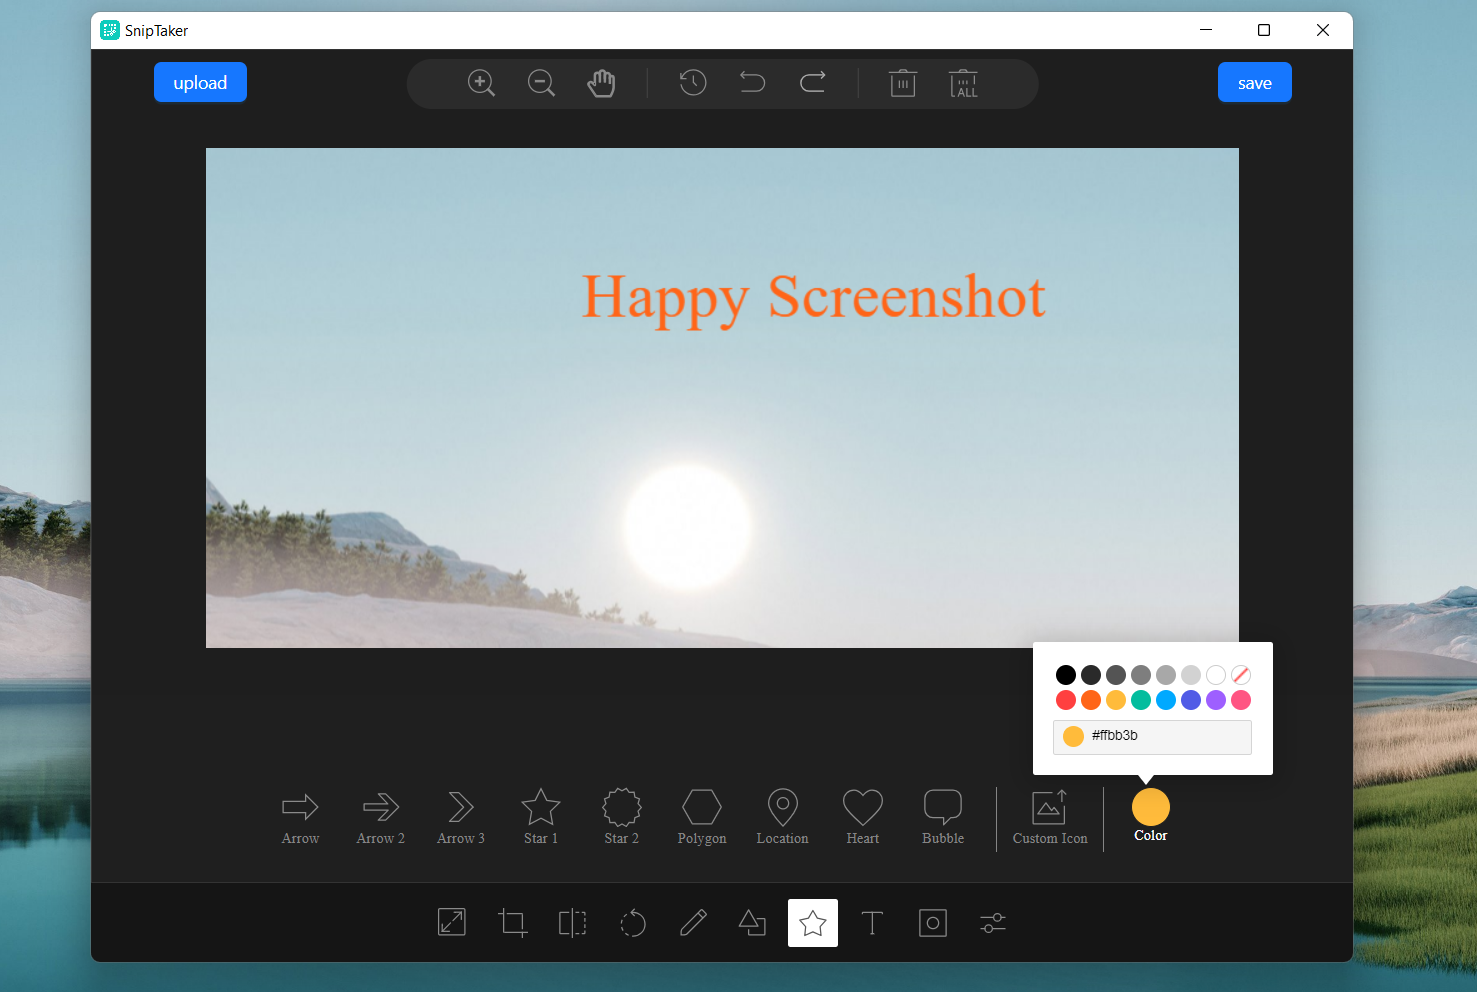
Annotate: Use the annotation tools to add text, shapes, and arrows to your image. Select the "Text" tool to type notes or the "Arrow" tool to point out specific areas.
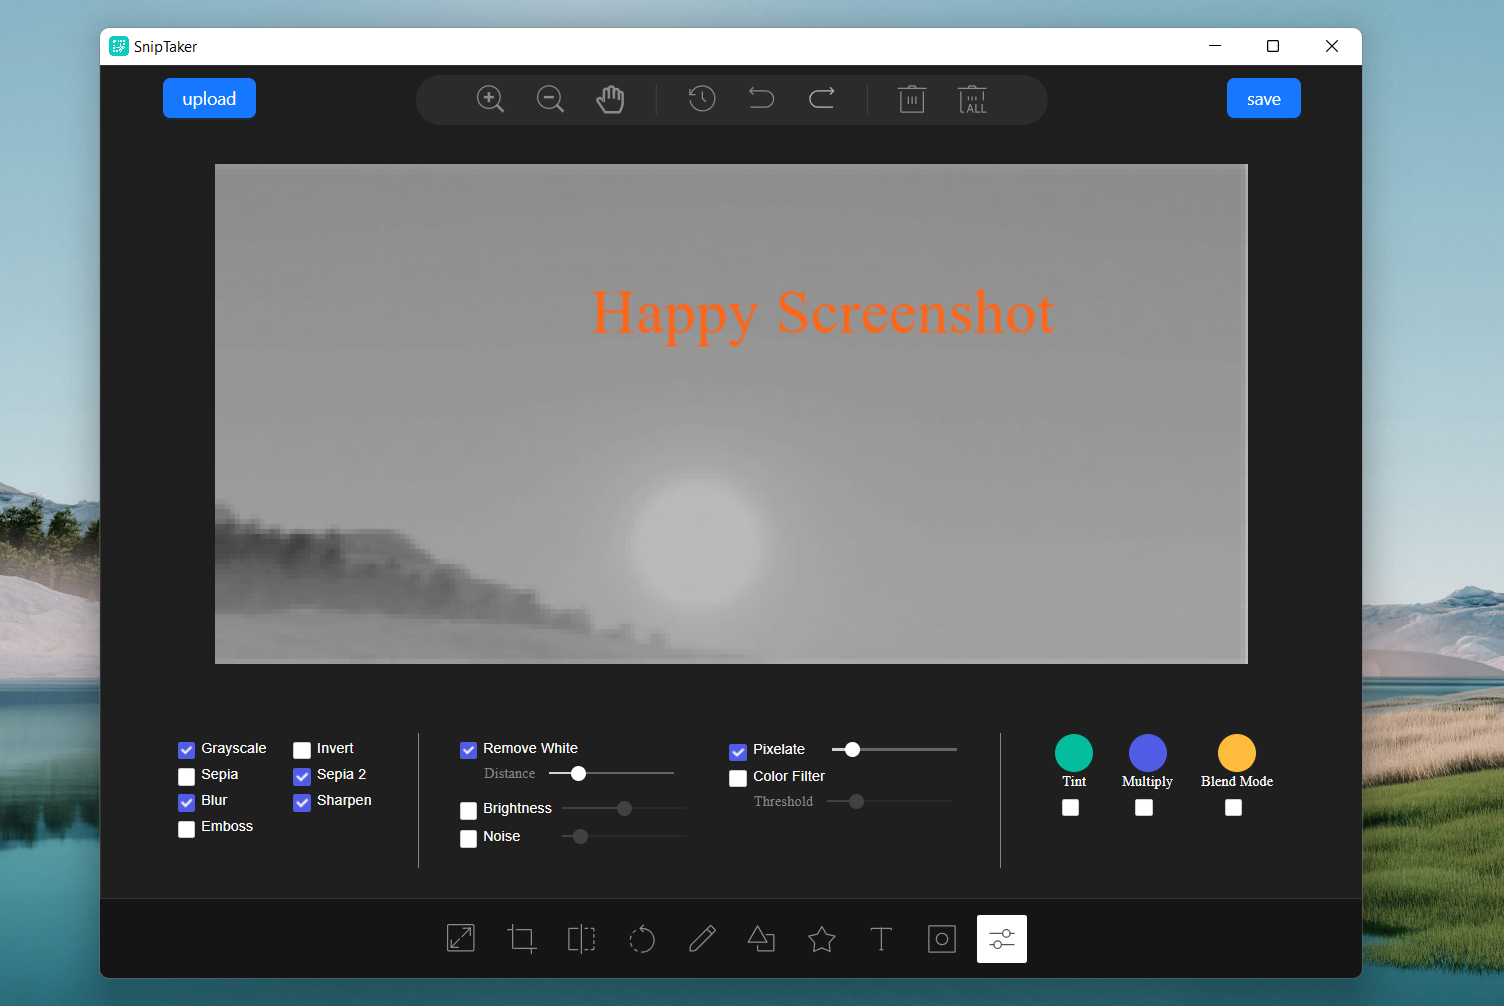
Adjust Colors: Use the color adjustment tools to modify the brightness, contrast, and saturation of your image to enhance its appearance.
Highlight: The "Highlight" tool allows you to emphasize important parts of your image by drawing attention to them with a bright, translucent color.
Blur: If you need to obscure sensitive information, use the "Blur" tool to pixelate specific areas of your image.
Filter: Click on the filters icon to open a menu of available filters. Click on the desired filter to preview its effect on your image. Adjust any available settings, such as intensity or opacity, to fine-tune the effect.
Part 3: How to Record Screen with SnipTaker
SnipTaker is not just limited to capturing screenshots; it also offers a powerful screen recording feature that allows you to record your screen activities seamlessly. This feature is ideal for creating tutorials, recording presentations, capturing gameplay, or documenting any on-screen process. With SnipTaker’s screen recording capabilities, you can easily create high-quality video content directly from your desktop. In this section, we’ll guide you through the steps to effectively use SnipTaker’s screen recording feature.
1. Launch SnipTaker and navigate to the main interface.
Click on the "Screen Recording" button or icon to switch to the recording mode.
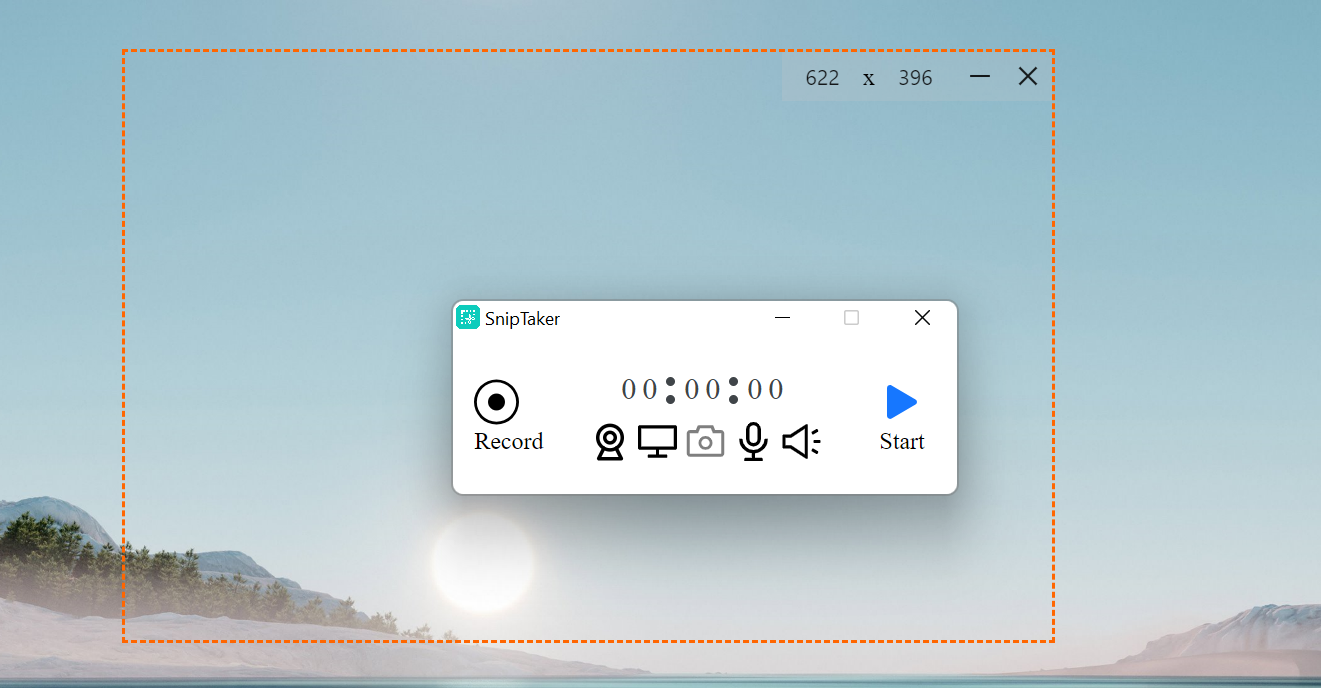
2. Select Recording Area
Choose whether you want to record the entire screen, a specific window, or a selected region.
3. Save the Recording
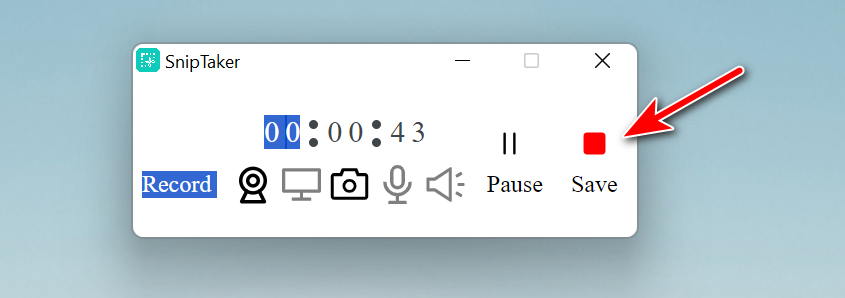
Once you’ve completed your recording, click the "Save" button or use the designated keyboard shortcut.
Summary
Congratulations on completing our SnipTaker tutorial! By now, you should be well-versed in the tool's features and functionalities, enabling you to capture, edit, and share screenshots with ease. SnipTaker's versatility and ease of use make it an indispensable tool for a wide range of users, from professionals to casual users. We hope this guide has provided you with the knowledge and confidence to utilize SnipTaker effectively in your daily tasks. If you have any questions or need further assistance, feel free to reach out to our support team. Happy screenshotting!